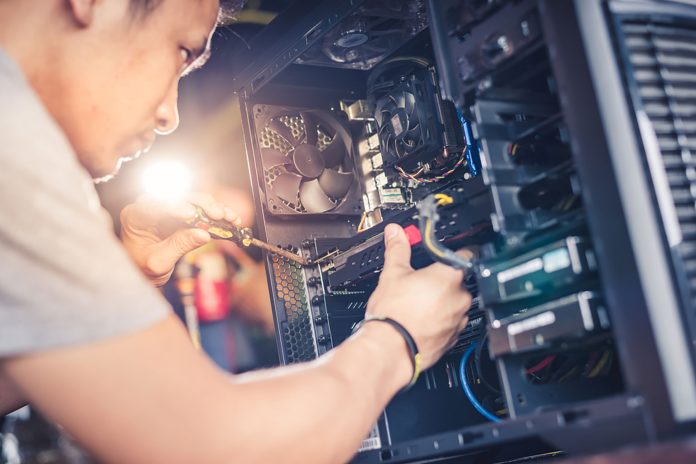
If you are looking for a desktop and can’t find one that meets the specific requirements you are looking for, then you might want to consider building one of your own. This is a great option for those who want to customize what goes into their desktop, or if you want to budget what components you will use. The following steps will help you create a reliable desktop computer:
1. Create a list of components
The first step in building a desktop computer is to list the components you will need. The components that you need will depend on the features that you want your desktop computer to have. Consider if you want to buy cheaper components that are less powerful to save money or if you want top of the line components for maximum desktop functionality.
2. Operating system
This is the main program that runs your computer, it manages all the other components and applications in the computer. It allows you to do everything from browsing the internet to writing documents and running programs. Because of this you should consider getting a good quality or popular operating system such as Microsoft Windows.
3. Motherboard
This is the central component of your computer. It is the board that holds all other parts. It’s also where all the parts are connected. It usually has slots on it where the other components can be connected. However, some have more than one slot. The price can vary from around $50 to $150 USD.
4. Processor (CPU)
This is the main chip that runs your computer. AMD and Intel make the most modern processors. The processor is the component that handles all the calculations. The processor keeps your computer running, so it’s important to buy a good processor. It also determines how fast your computer will run.
5. Graphics Card (GPU)
This is a video card that is connected to your computer. It plays a very important role in your computer because it determines the speed of your computer. It also plays a role in how your computer displays images, graphics, and videos. It’s also where all the graphical applications you use on your computer are rendered.
6. Storage
This is where all the data on your computer is stored. This is also where all of the programs are stored. This is the part of your computer that holds the operating system, application files, and all of your data. This can be a hard drive (HDD), solid-state drive (SSD), or flash drive. Hard drives are the most common, but flash drives and solid-state drives are becoming more popular.
7. Memory (RAM)
This is where all of your programs, data, and files are stored. This is the first thing your computer will access when it starts up. It’s also where all the programs and data you run are stored. If you want to do a lot of things at once, you will need a lot of memory (RAM). A good rule is to buy as much RAM as your budget allows.
8. Case and cooler
This is where all of your computer’s parts are housed. There are many options for computer cases in different styles. It is important to consider getting a case with a good cooling system. Some cases use liquid cooling, other cases use fans, some use both. Consider what works best for you and your budget and style.
9. Power supply (PSU)
This is the part that provides electricity to your computer. A power supply unit converts alternating current (AC) to low-voltage regulated direct current (DC) power for the internal components of your computer.
10. How to put it all together
Start by opening up your computer case then add the motherboard. Next put in your video card and CPU, in that order. Put in your RAM, HDD, and optical drive. Then put in all of your remaining components, starting with Power Supply, Video Card, CPU(s), HDD(s), and Optical Drive(s). Make sure you have all your wires plugged into their respective places before closing up your case again.


